This is specific to each development environment, but the procedure is very similar in all cases. The PDF Creator component should be added to the components toolbox as follows:
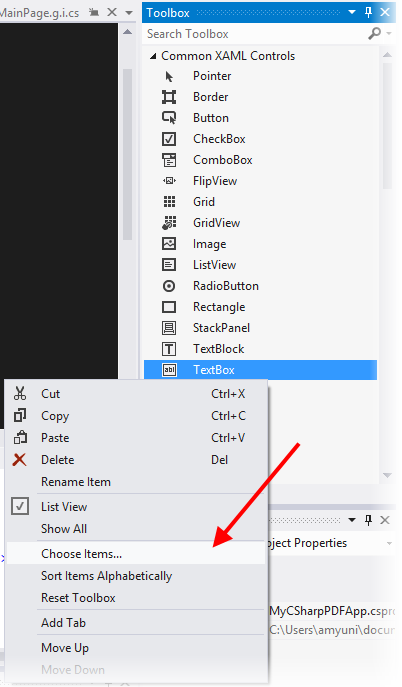
Right-click Common XAML Controls.
Select Choose Items.
Figure: Adding PDFCreator to the XAML Controls Toolbox
The Choose Toolbox Items dialog box appears as follows:
Figure: Selecting PDFCreator in the Windows XAML Components tab.
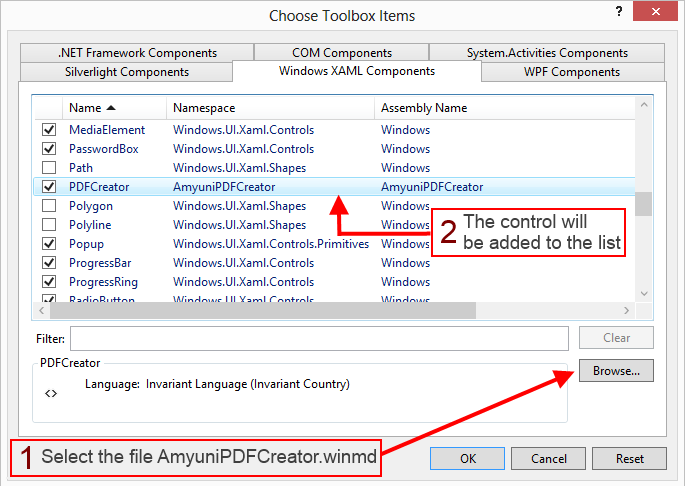
Browse for AmyuniPDFCreator.winmd. The control shows in the list of Windows XAML Components as "PDFCreator". Once added to the toolbox, the component appears in the components toolbar and can be inserted on a XAML window.
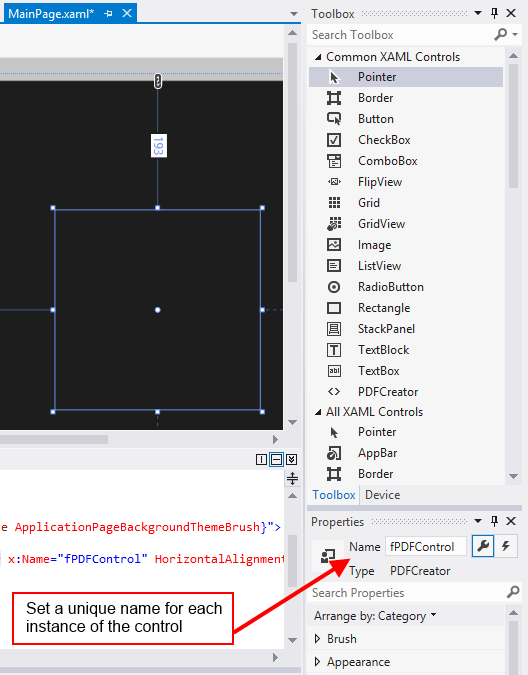
In order to include PDFControl into a XAML page, drag the control from the toolbox and drop it on the page, then set a unique name to each instance of the control.
As opposed to Windows Forms projects, Visual Studio will not set a default name to each control that is dragged from the toolbox, so it is important to set this name so that it can be used later on to access the control programmatically.
Figure: Dragging PDFCreator control from the toolbox and dropping it into a XAML page.
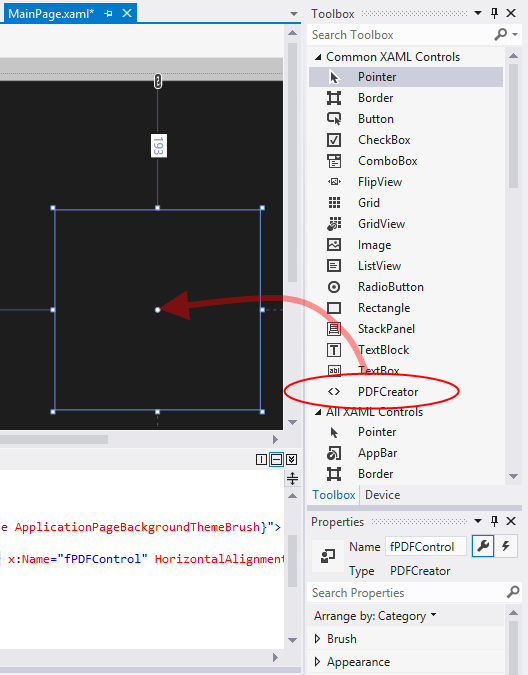
Figure: Setting a name for each PDFControl instance added to the page.